While yoga has recently become a fitness sensation in the West, it is truly a centuries-old practice.It has been used to treat physical, spiritual, emotional, and even psychic disorders. Yoga can boost your mental and emotional health as well as your physical strength by stimulating the liver, kidneys, and other organs.
Here are some advanced yoga poses for beginners with pictures and names.
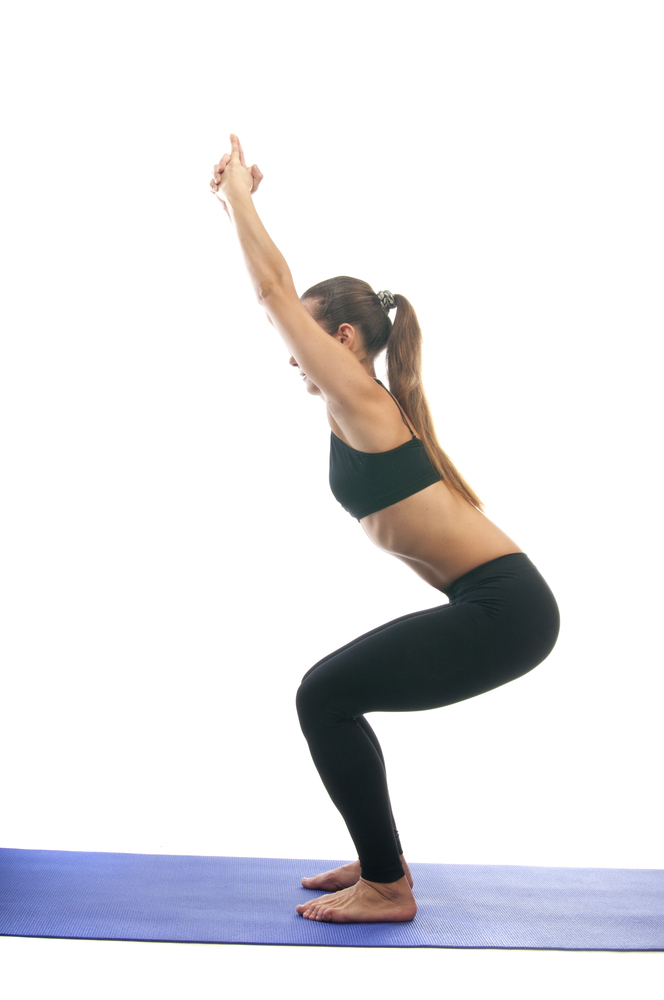
1. Chair Pose
Chair Pose is Utkatasana in Sanskrit.
How to Do It
Step 1: Begin with Tadasana (Mountain Pose). Raise your arms perpendicular to the floor, palms facing inward, as you inhale.
Step 2: Exhale and bend your knees as if you were sitting in a chair until your torso and thighs make a straight angle. Maintain a parallel line between your inner thighs and push backward with your shoulder blades, as if you were pushing back on the back of a chair.
Step 3: Raise your arms above your head and hold the position for 30 seconds to one minute.
Step 4: Exhale while straightening your knees to exit this stance.
Benefits –
Thighs and ankles are strengthened, while shoulders, buttocks, hips, and back are toned. The heart and diaphragm are also stimulated.
ALSO READ : Busting Myths and scientific reasons for not cutting hair on Thursday
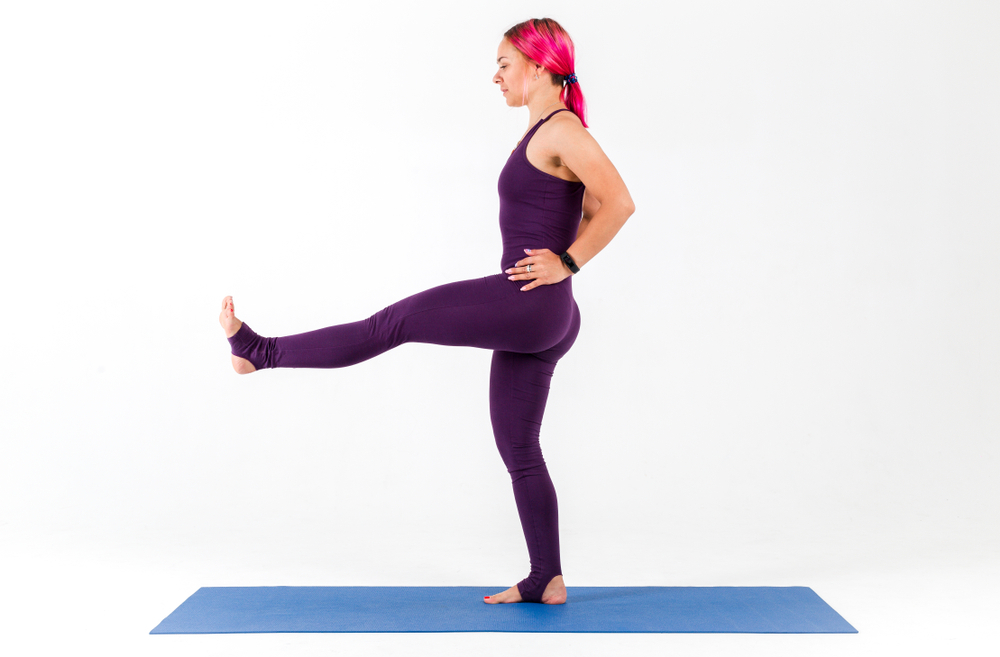
2. Hand-to-foot pose
The Hand-to-foot pose is Utthita Hasta Padangustasana in Sanskrit.
How to do it.
Step 1: Begin in mountain position by bringing your left knee to your stomach.
Step 2: Reach toward the outside of your left foot with your left hand on the inside of your left thigh.
Step 3: Extend your left leg out in front of you with a sturdy standing right leg. Breathe.
Step 4: Swing your left leg out to the left once you’re ready.
Step 5: Maintain for 30 seconds and then return to mountain posture. Rep on the opposite side.
Benefit –
- Strengthens hamstrings
- Strengthens thighs and upper body
- Stretches the back and spine
- Revitalize the psyche
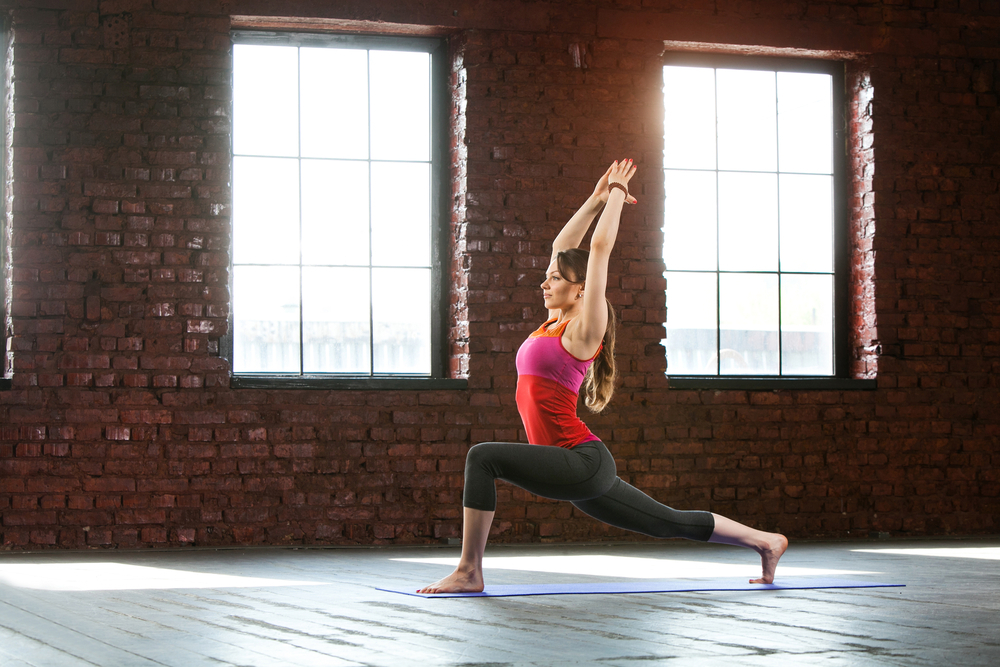
3. High Lunge
Utthita Ashwa Sanchalanasana is the Sanskrit name of High Lunge
How to do it.
Step 1: There are two methods for getting into a high lunge. Lift one of your rear feet from Downward-facing Dog and bring it forward to rest between your palms.
Step 2: Place your hands on the ground beside your feet and extend one foot backward from a Half Standing Forward Bend.
Step 3: Center your front knee over your heel, bringing your shin perpendicular to the floor, and your thigh parallel to the floor.
Step 4: Balance your weight between your feet and raise your torso to an upright position. Inhale and raise your arms far into the air toward the ceiling.
Step 5: Maintain positions for ten to thirty seconds while breathing normally. With each inhalation, lengthen the body by facing forward without tension.
Step 6: To exit the posture, place your hands on the ground outside of your front foot and either bring your rear leg forward to rise or return to a downward-facing Dog Pose by bringing your front leg backward.
Benefits –
- This exercise strengthens the lower body, opens the chest, and improves balance and flexibility.
- Prepares the body for more difficult poses.
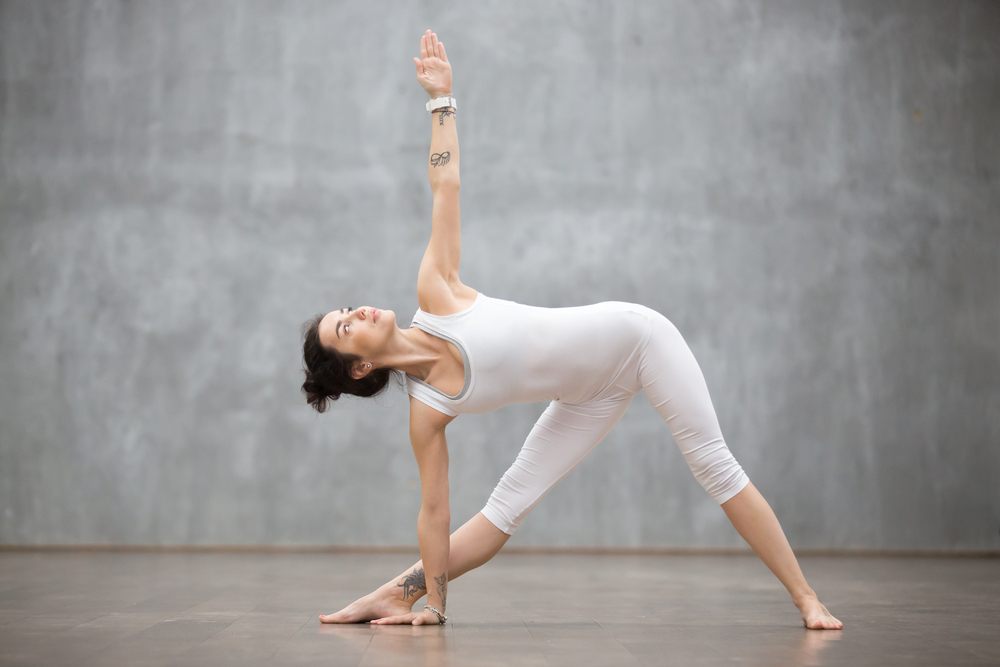
4. Triangle Pose
Trikonasana is the Sanskrit name of Triangle Pose.
How to do it.
Step 1: Begin by standing on your mat with your legs spread wide (3-4 feet between them) and your toes pointing forward.
Step 2: Extend your right foot 90 degrees and invert your left foot approximately 45 degrees. Bring your hands to your hips and align your hips so that you are now facing the mat’s end.
Step 3: As you exhale, bow your hips and lean to the right until your torso is parallel to the floor. Lengthen the spine by keeping your left hand on your hips and lowering your right hand to the floor directly behind your right foot. If you are unable to place your hand on the floor, you can either rest it on your lower calf or ankle or stabilize it with a block behind your right foot.
Step 4: Raise the left arm straight into the air as you inhale.
Step 5: Exhale and raise your eyes to your top hand.
Step 6: Maintain the position for 10-30 seconds before lowering your left hand and returning to the middle.
Step 7: Perform the same on the opposite side.
Benefits –
While this is one of the difficult advanced yoga poses for people with tight muscles, it will assist in promoting balance, stretching the hamstrings and inner thighs, and creating a sense of expansion in the body.
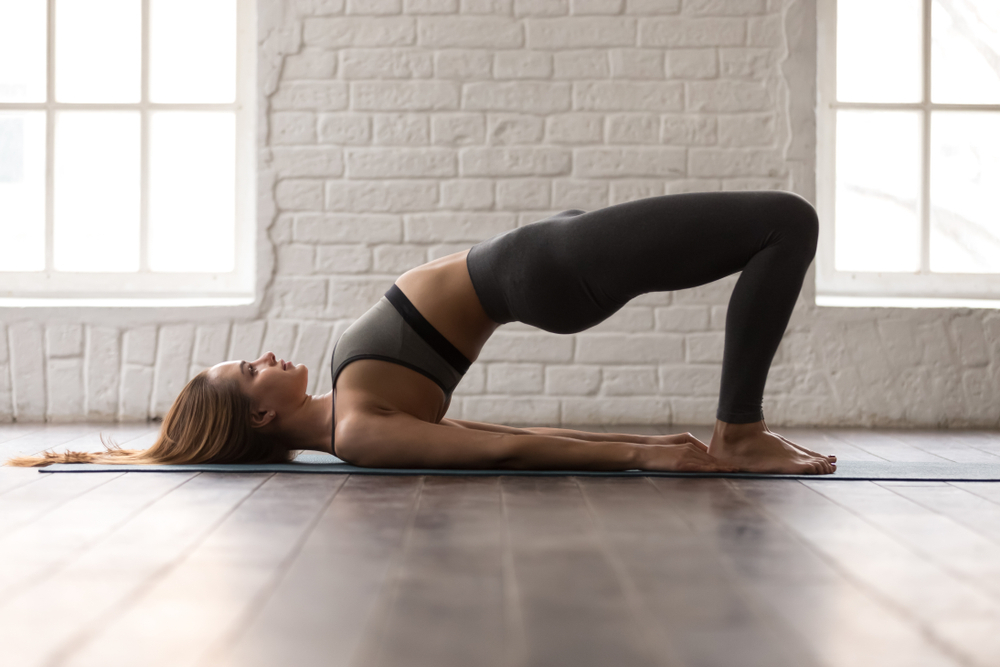
5. Bridge Pose
Setu Bandha Sarvangasana is the Sanskrit name of Bridge Pose
How to do it.
Step 1: Lie faceup on the floor with your knees bent, your feet flat on the floor, and your arms at your sides, palms facing down.
Step 2: Maintain parallel feet and a hip-width distance between them, with heels stacked beneath the knees.
Step 3: On an inhale, tighten the legs and glutes. With your feet, push the floor away and raise your hips into the sky.
Step 4: If your shoulders are stiff and you’re looking for additional leverage, consider gripping the sides of your yoga mat and raising your hips. Additionally, you may desire to entwine your fingers beneath your “bridge” and shimmy your shoulders beneath your chest.
Step 5: When you’re ready to return to the ground, raise your heels and gradually lower your hips to the ground, one vertebra at a time.
Benefits –
- It strengthens the back and buttocks.
- Stretches the neck, chest, and hips.
- Aids in the relief of back pain
- Helps improve digestion
- Provide relief from headaches.
So, these are all yoga poses with pictures and names. Yoga is about growth. It’s about getting used to the unpleasant. It’s about mind-body unity and keeping your body secure. You are performing yoga even if all you do is sit on the mat for 15 minutes.